junior week feb. 26, 2026
rant abt resin printer
so for some reason the resin printer mixer decided to fall off and i wasn't sure how to fix it before winter break, so i ended up not having the keycaps i needed in time. i had to wait until winter break ended plus two snow days to finally get back to the keys.
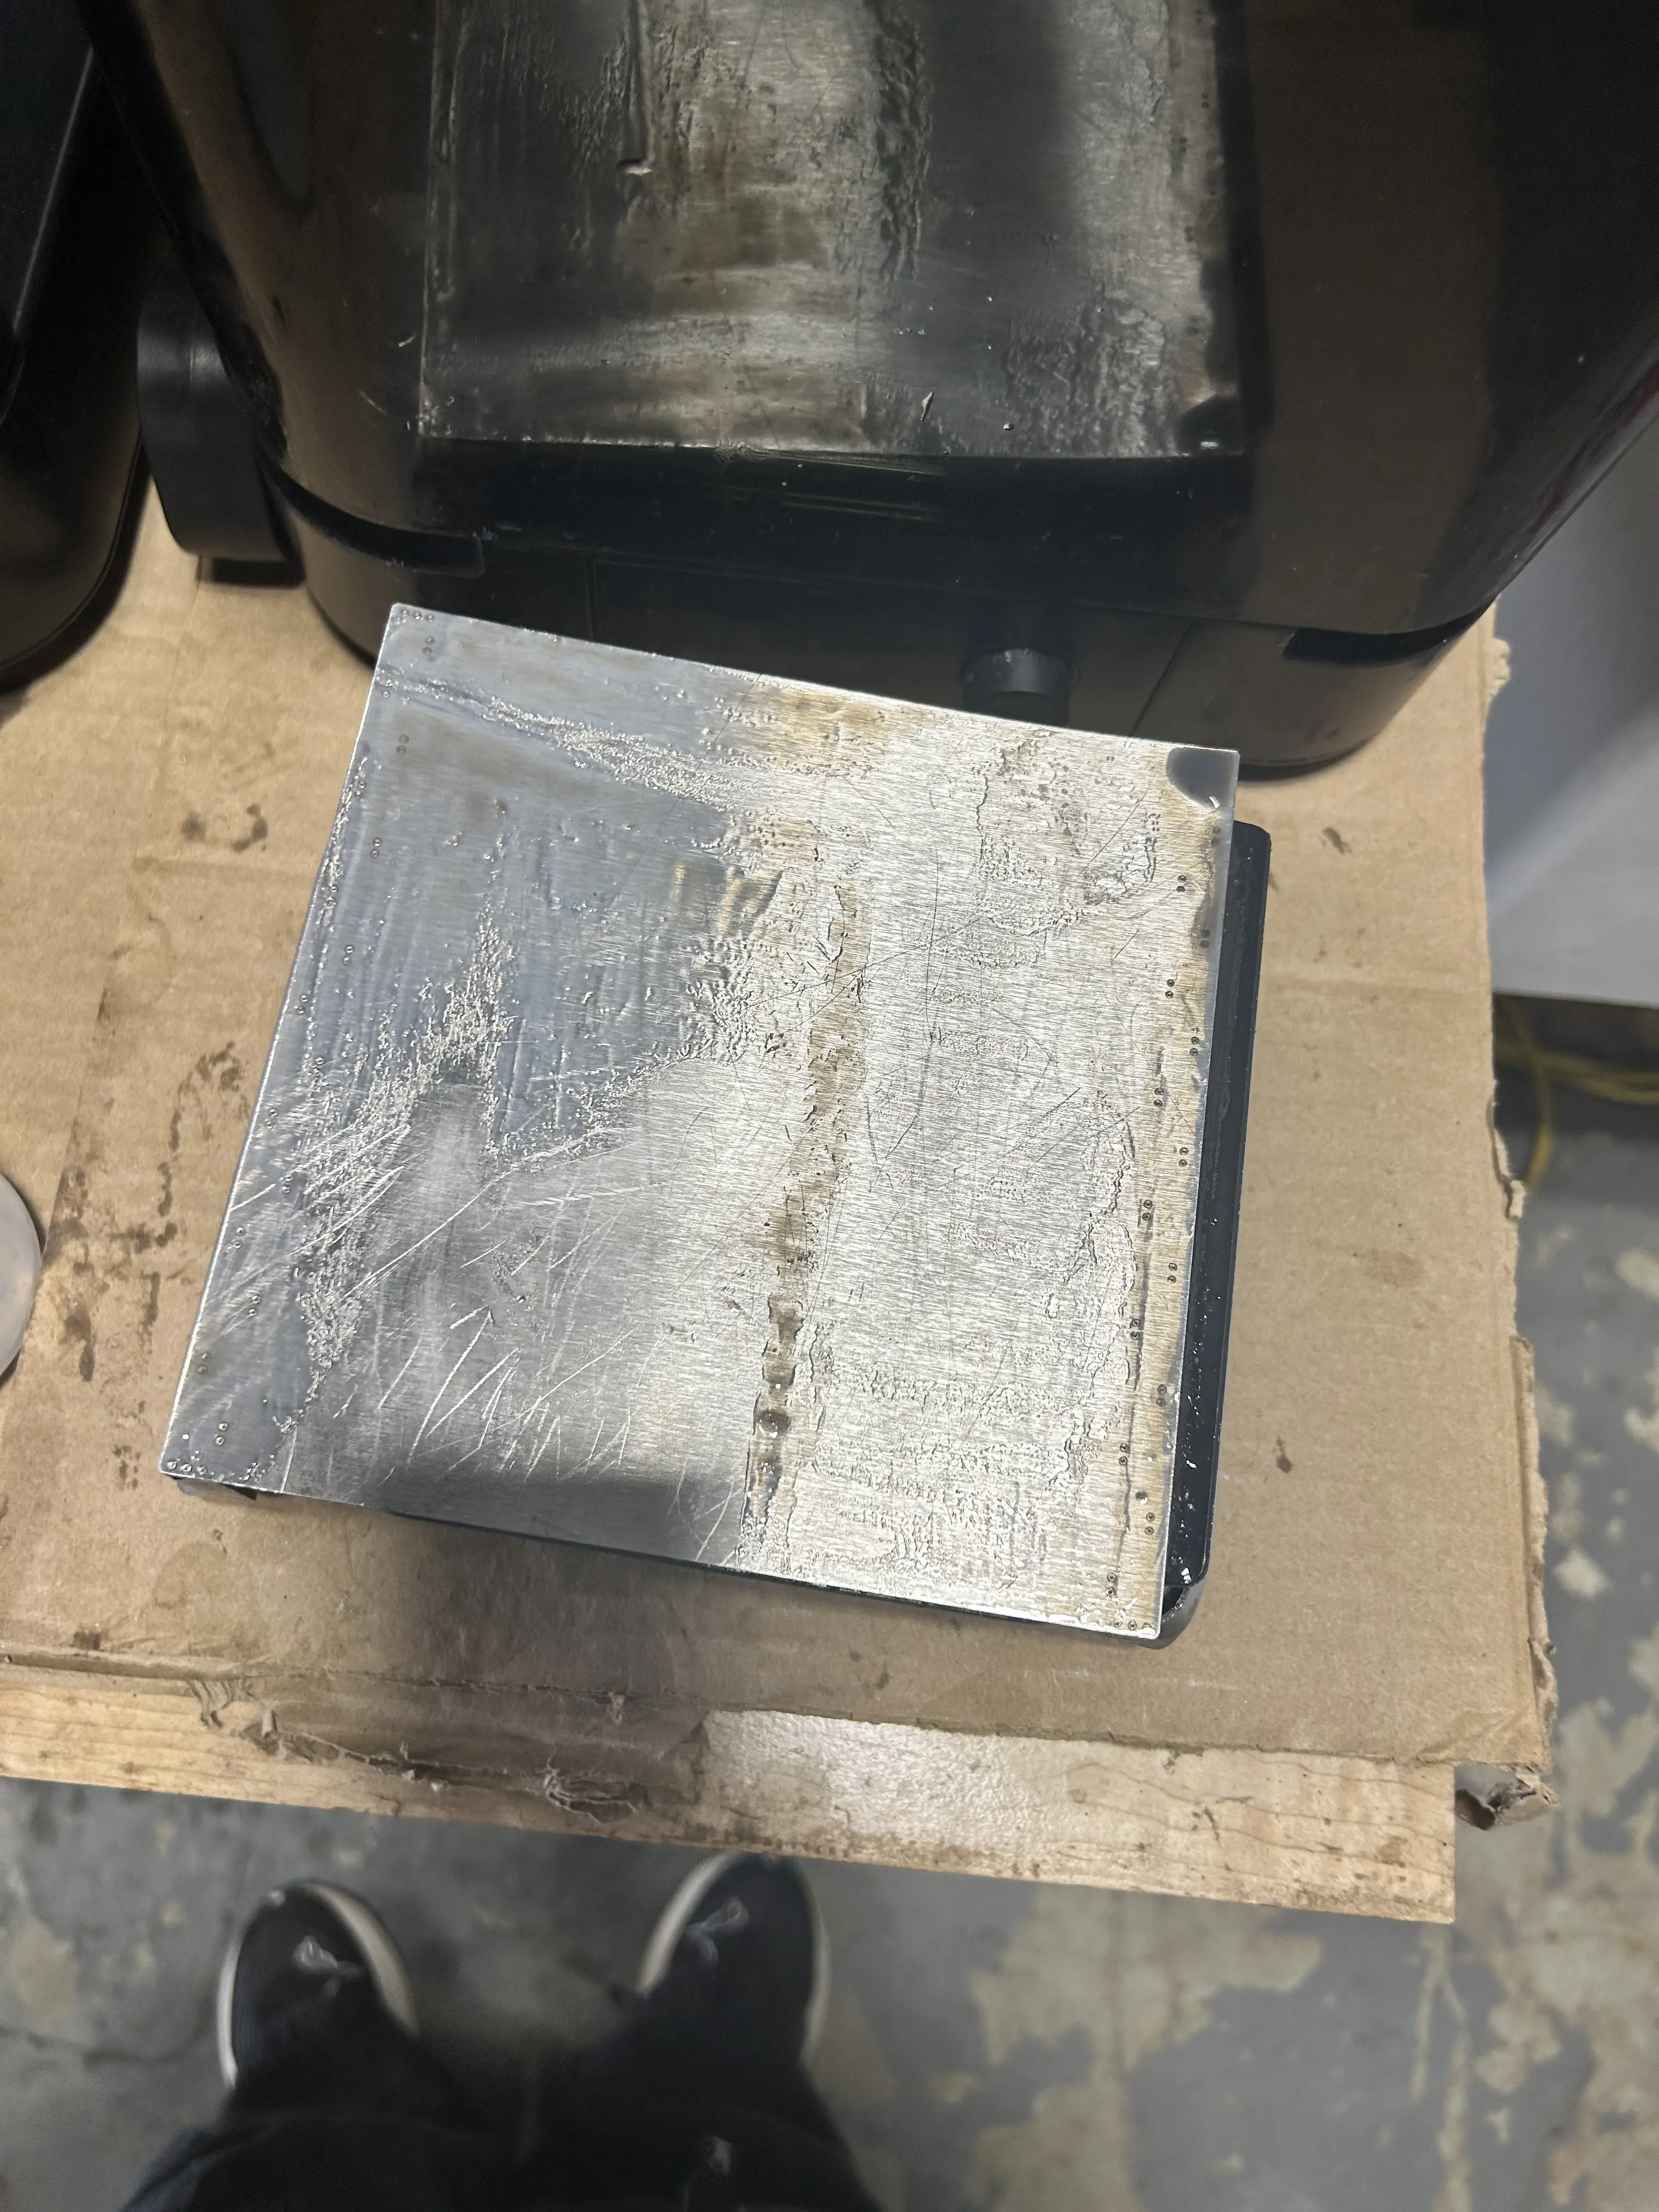
four hour print btw lol. didn't make anything.
came back from break to reprint the file for the 3rd time, and they finally came out nice.
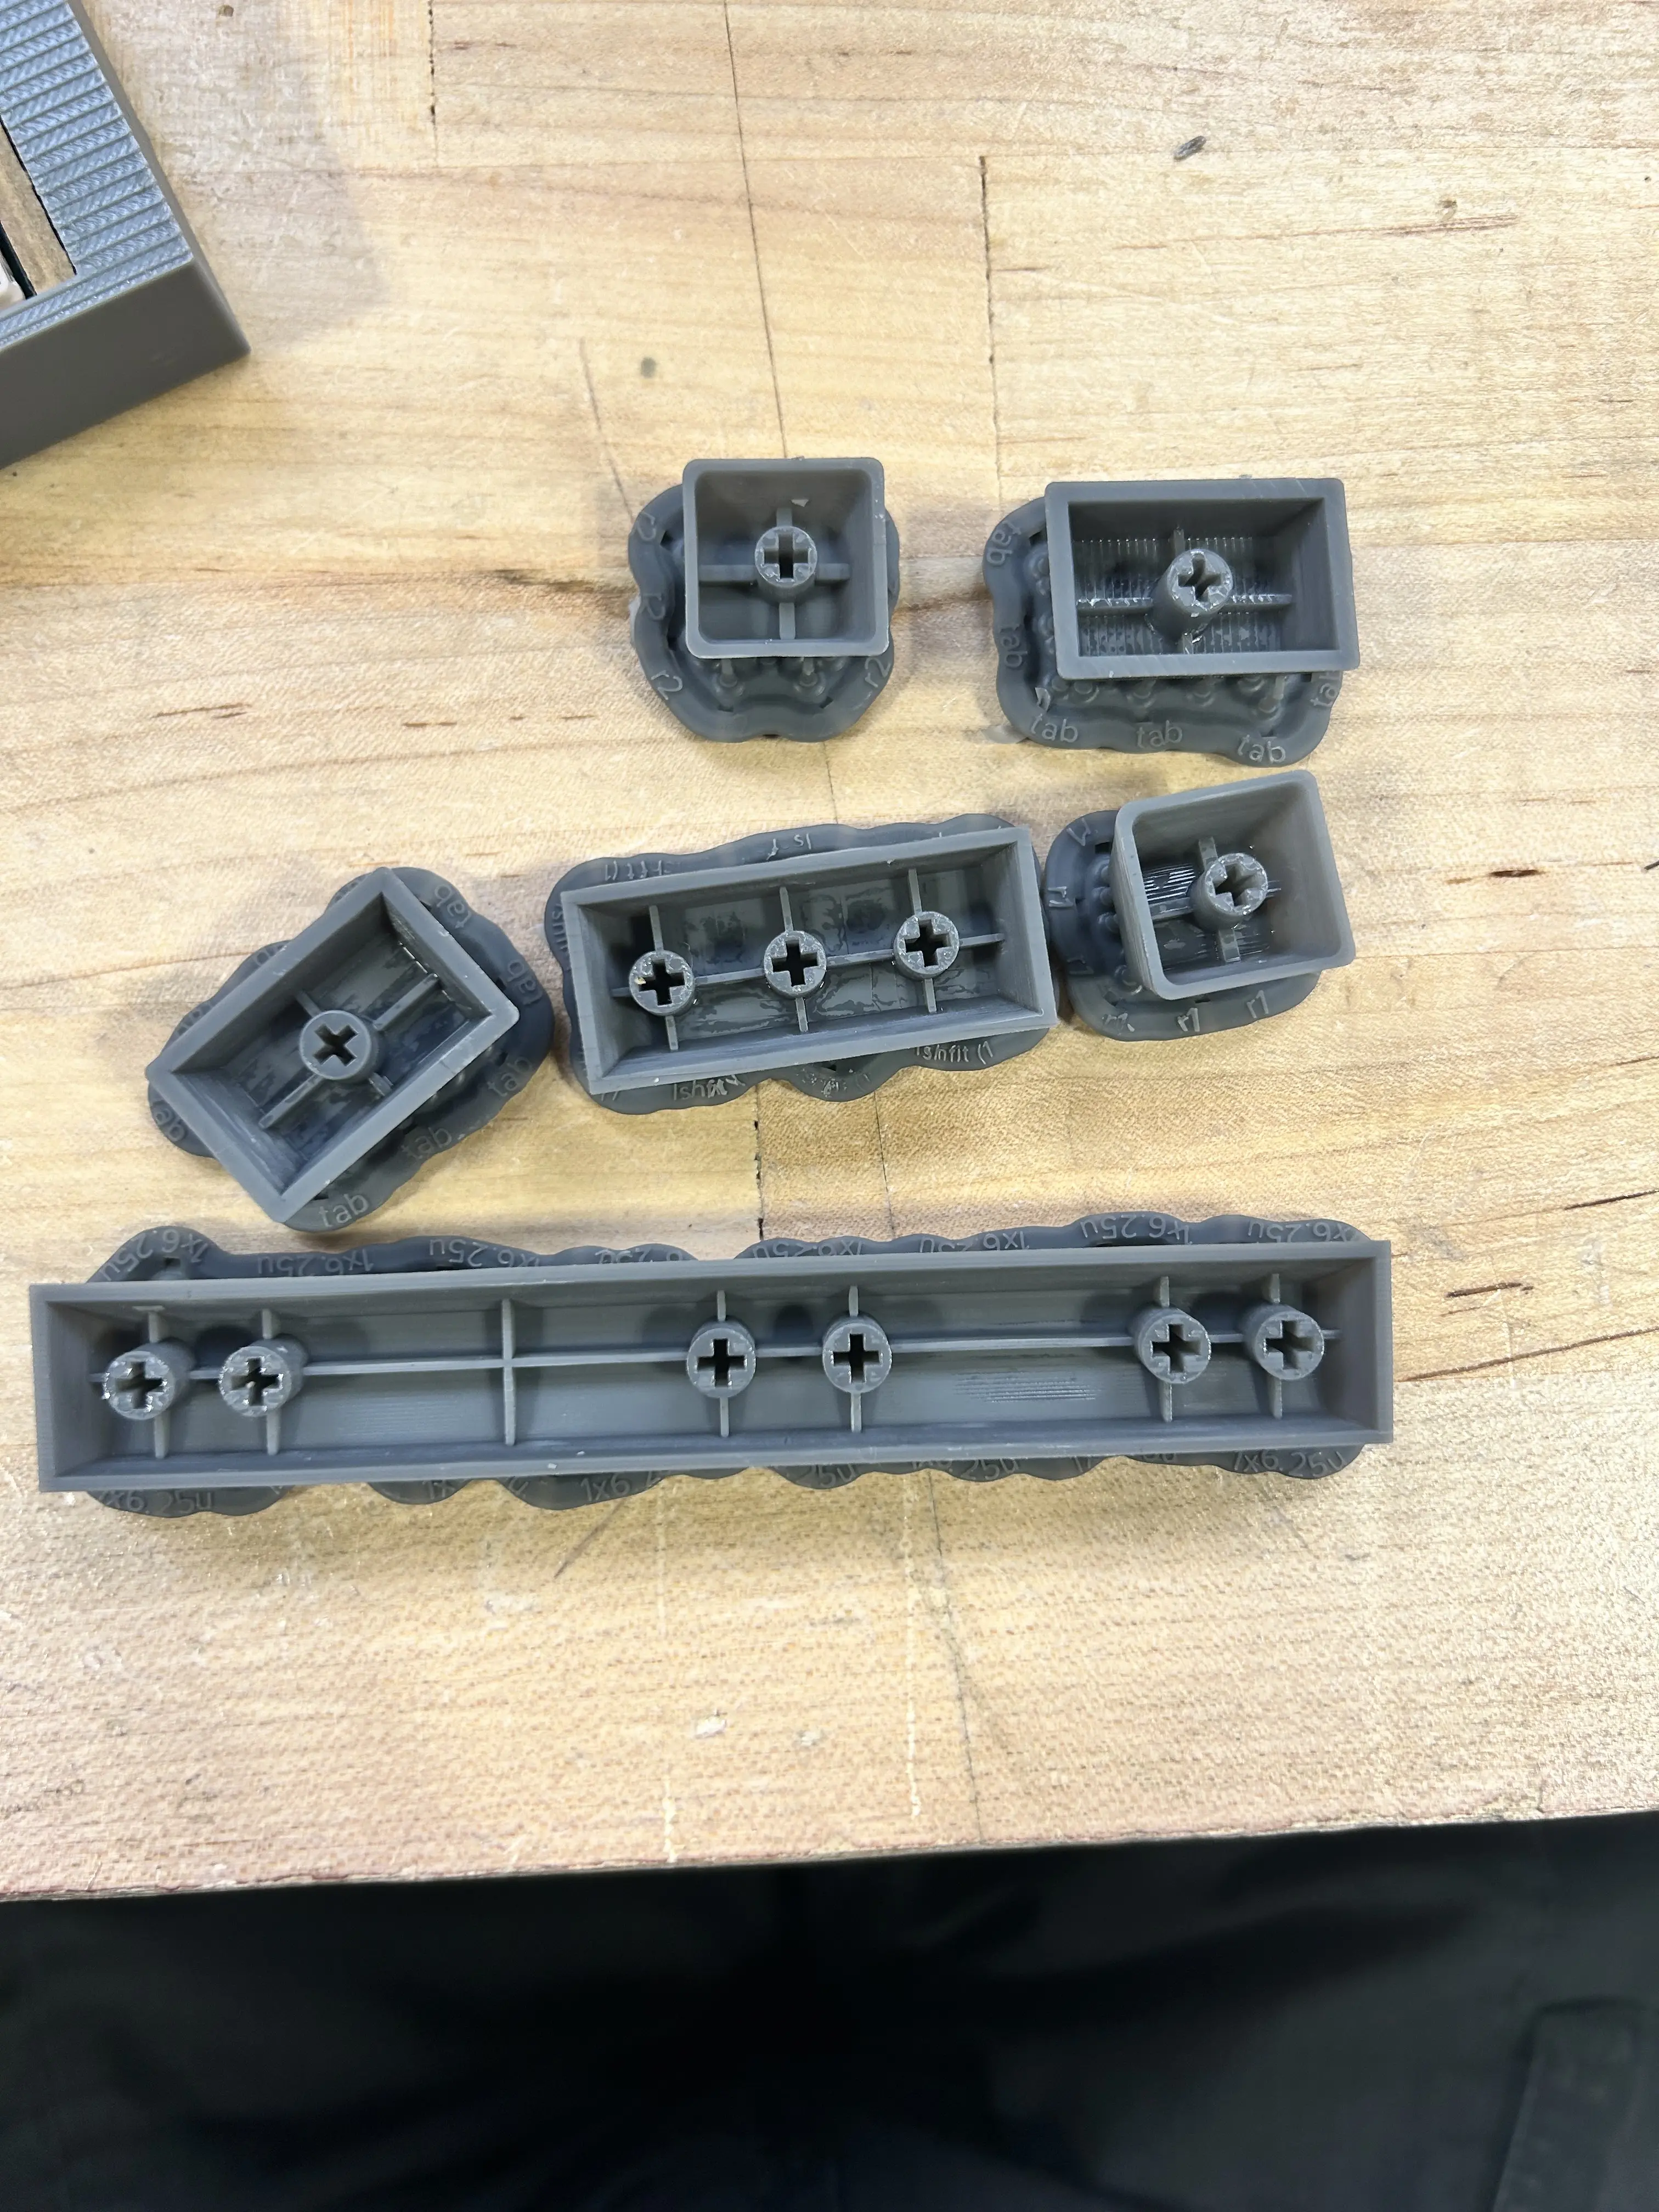
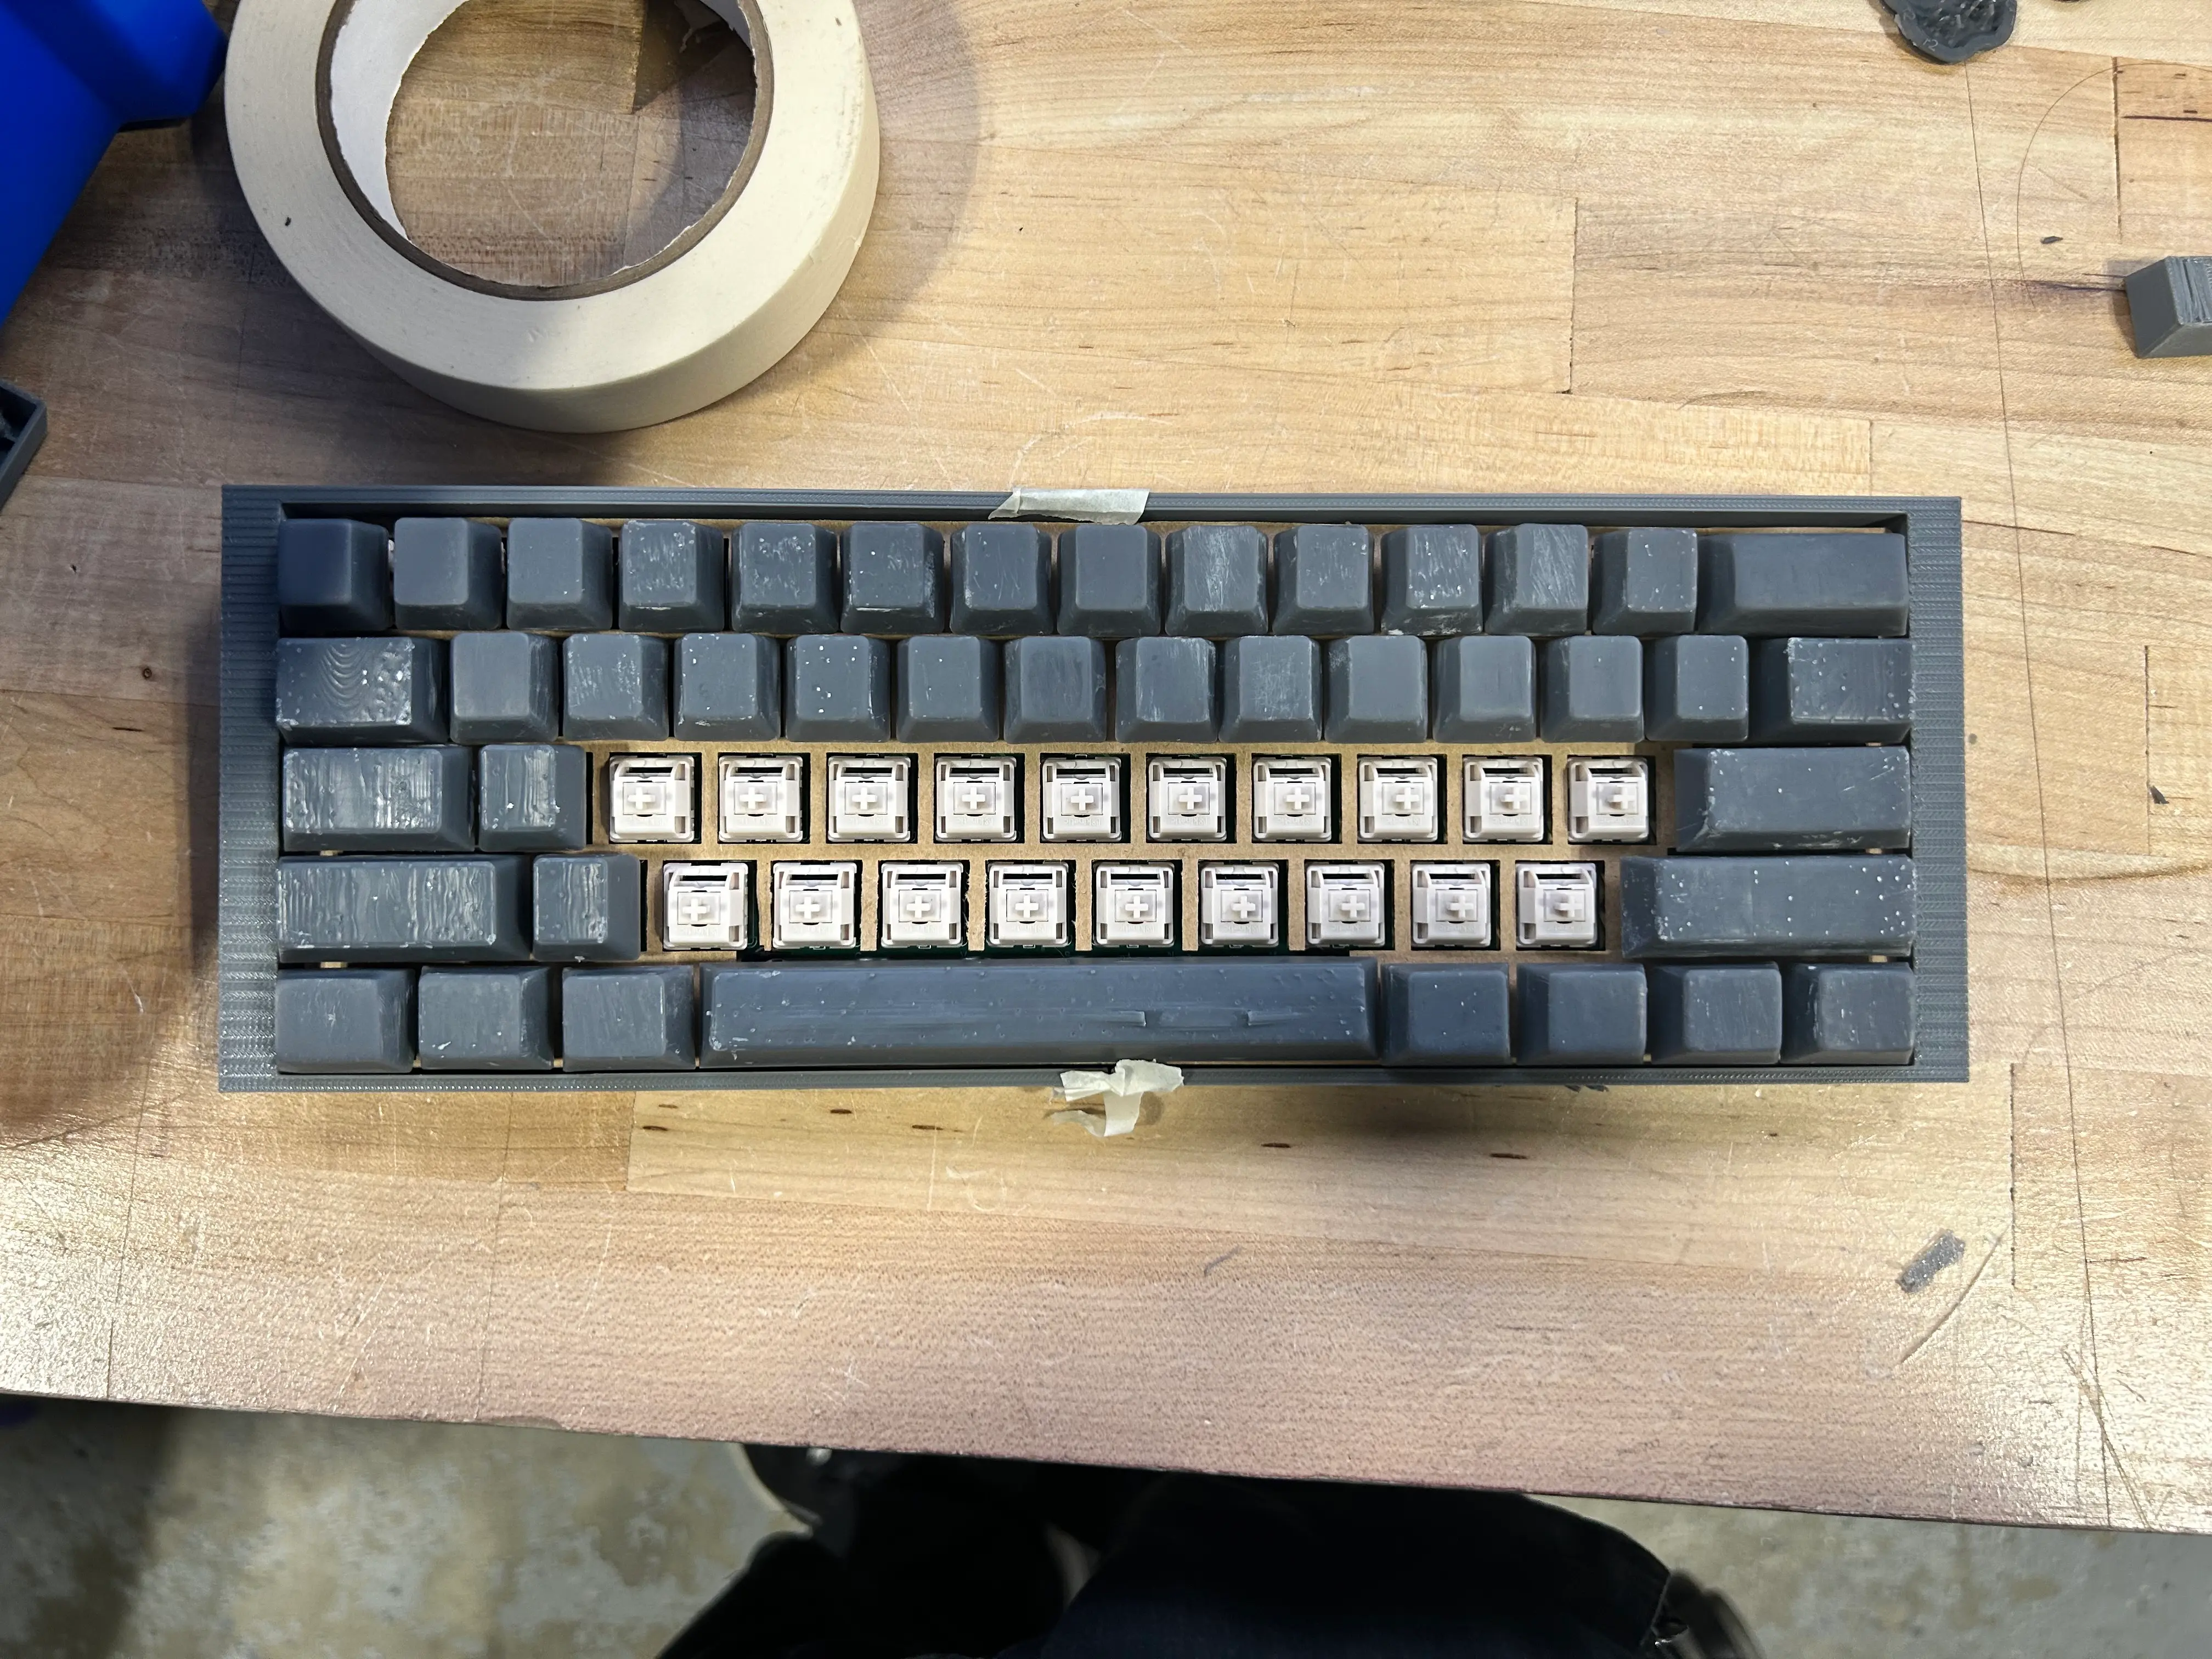
some of the keys are a bit bigger than expected. previously i couldn't test without a case, but now that i have one, i have a more accurate test—so, oops. i might just get an xacto knife and trim the bottom until it's to size.
pcb plate
the pcb plate is used to "lock" the pcb in place. when the keycaps are placed above the plate, they essentially "stick" the pcb together with the plate. i did a test cut in cardboard before eventually machining one, but it turned out horrible and wouldn't fit.
turns out i forgot to account for the stabilizer models; they were thicker than i expected, and i had first designed this before i actually had the stabilizers imported into my model.
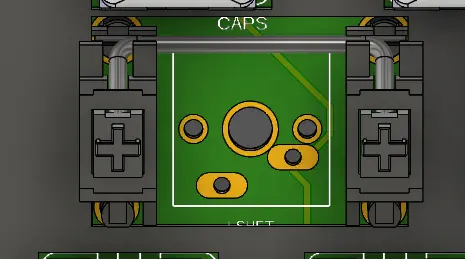
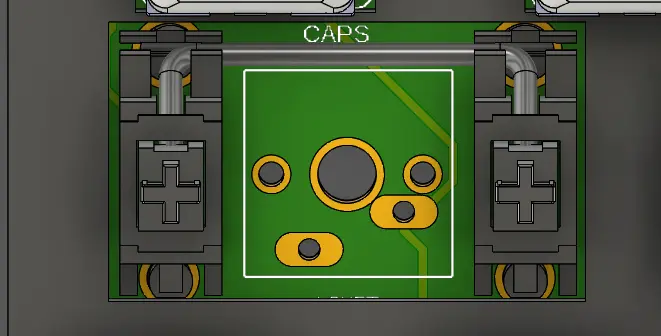
old vs new. old one on top.
so i cut it on the lasercutter and started a fire (oops mb), so i had to cut another one out which ended up working nicely.
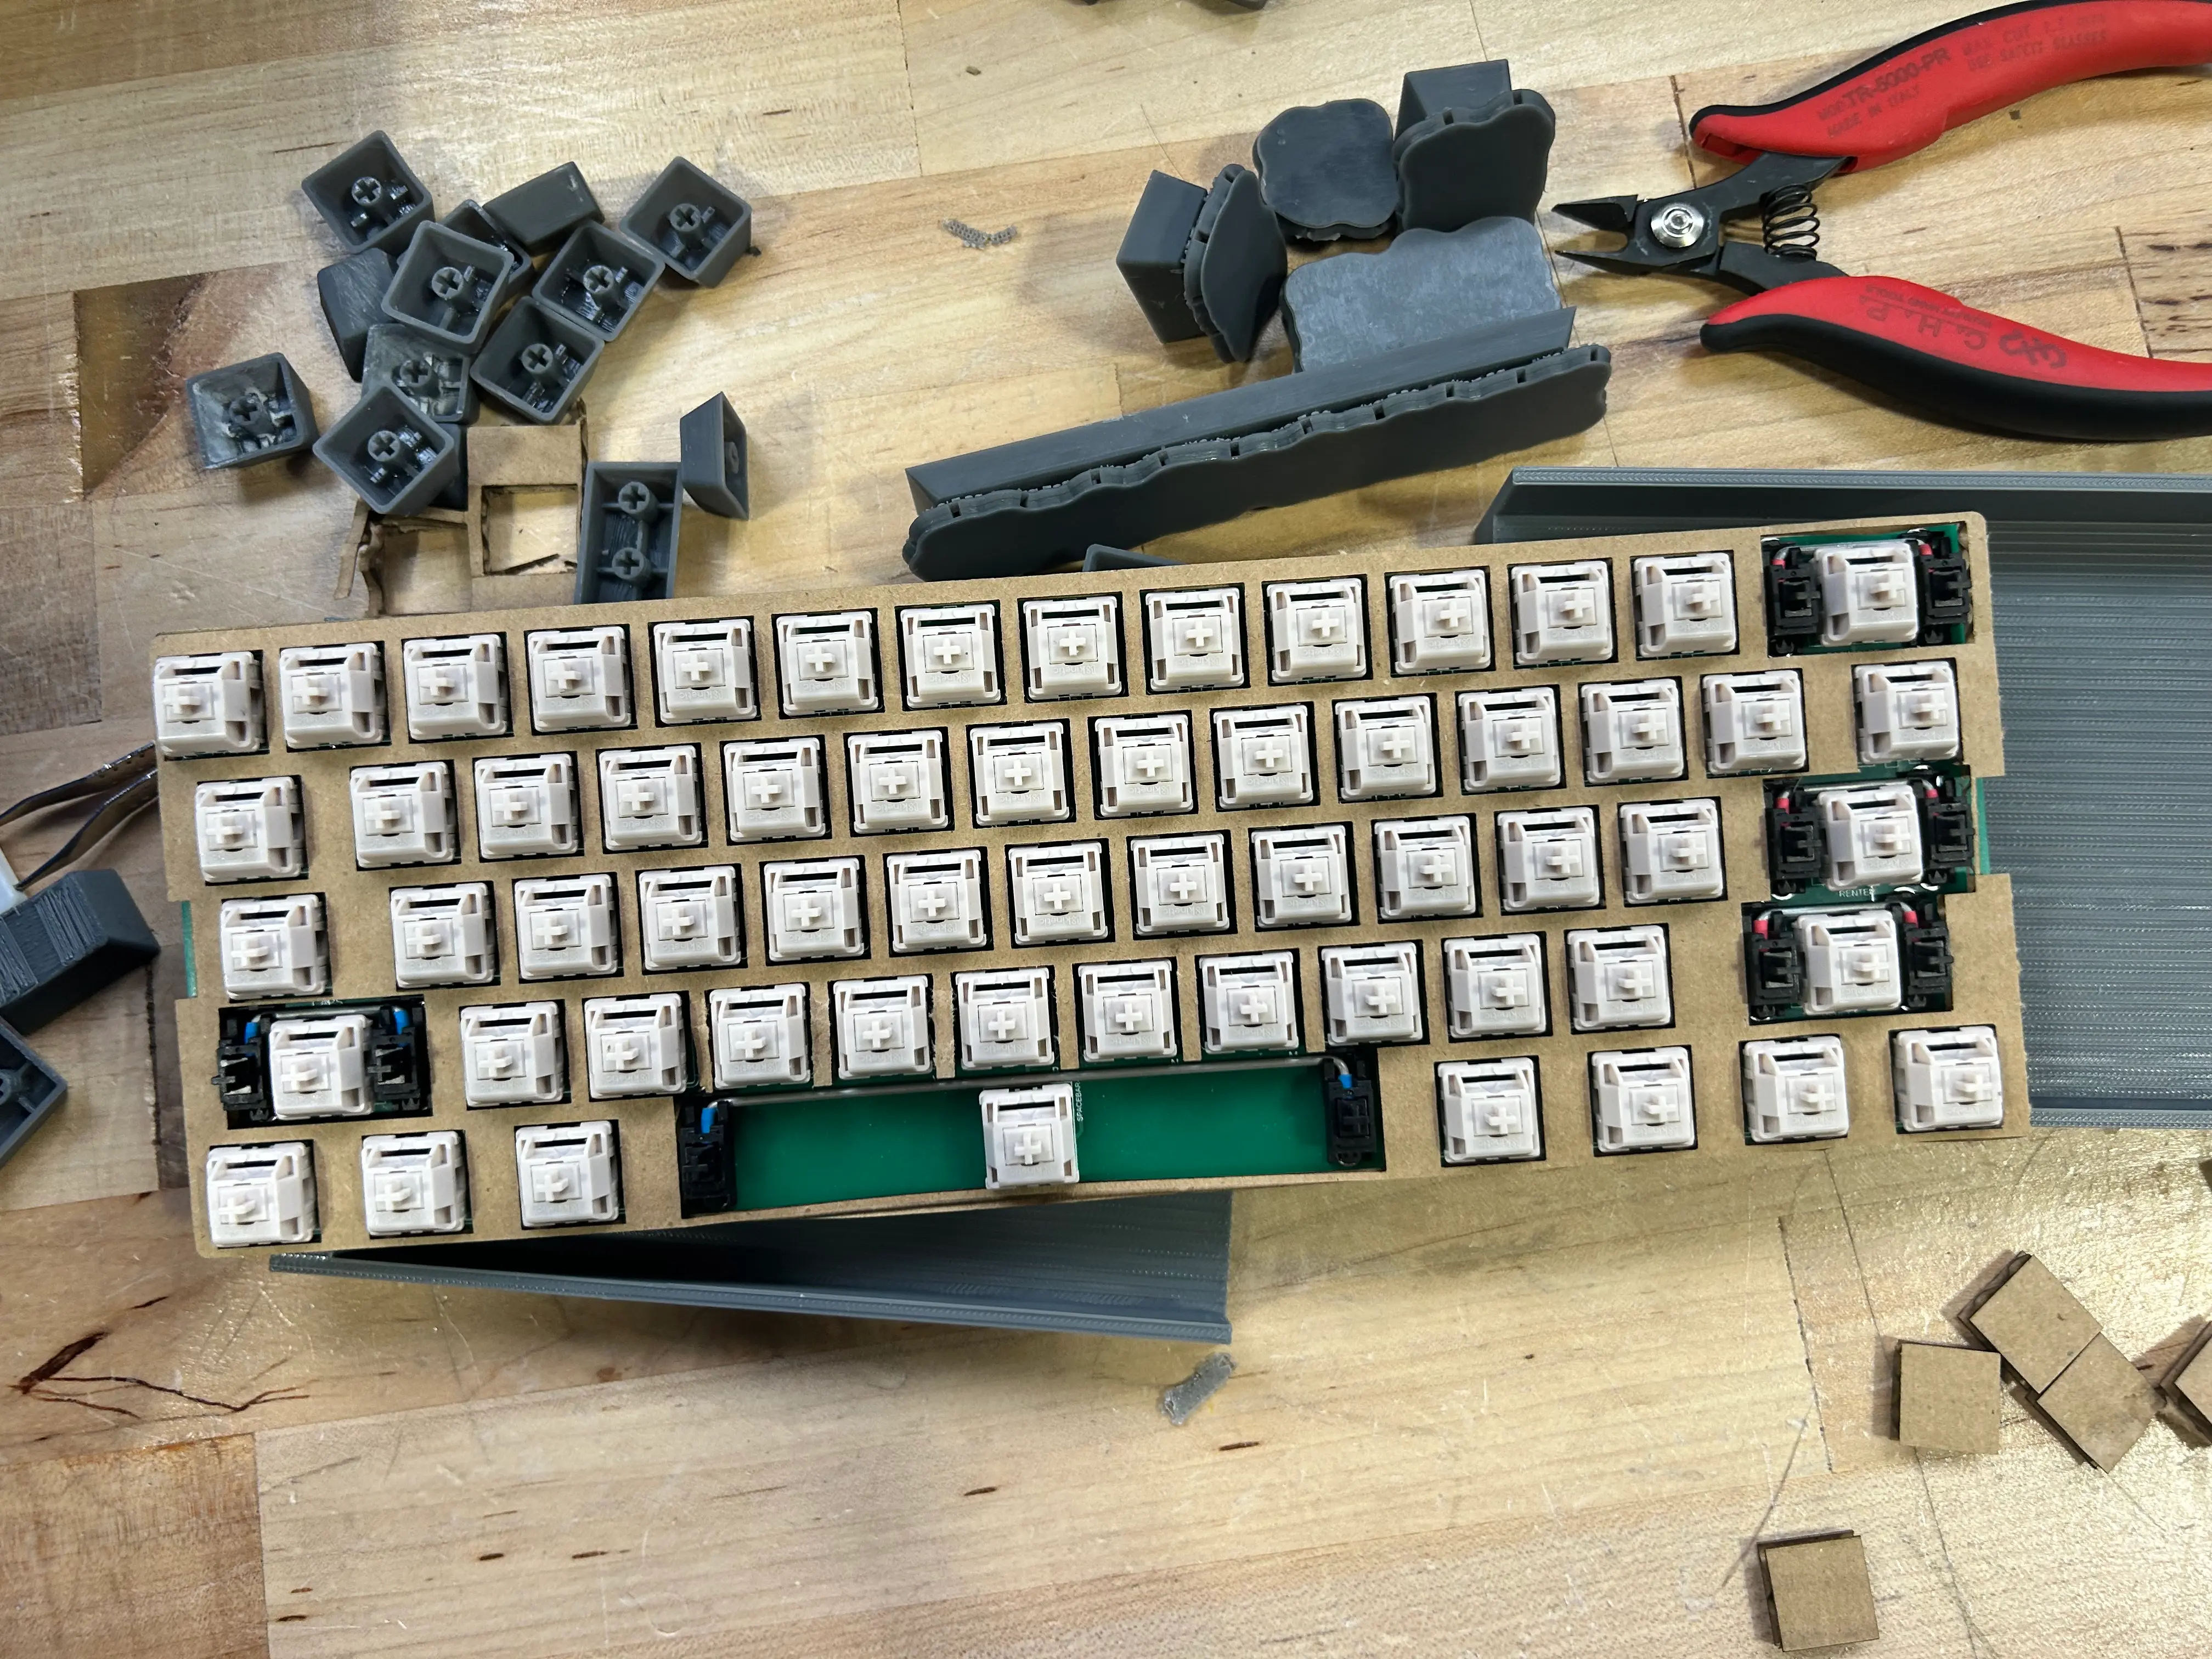
plate w/o keys cause i'm stupid.
the bottom is a bit thin. i might just remove that little line from the space bar area to the bottom of the plate in the next version. who knows.
case
the idea is to mill the final product out of aluminum or something that's not PLA, but i still needed to check if the geometry actually works.
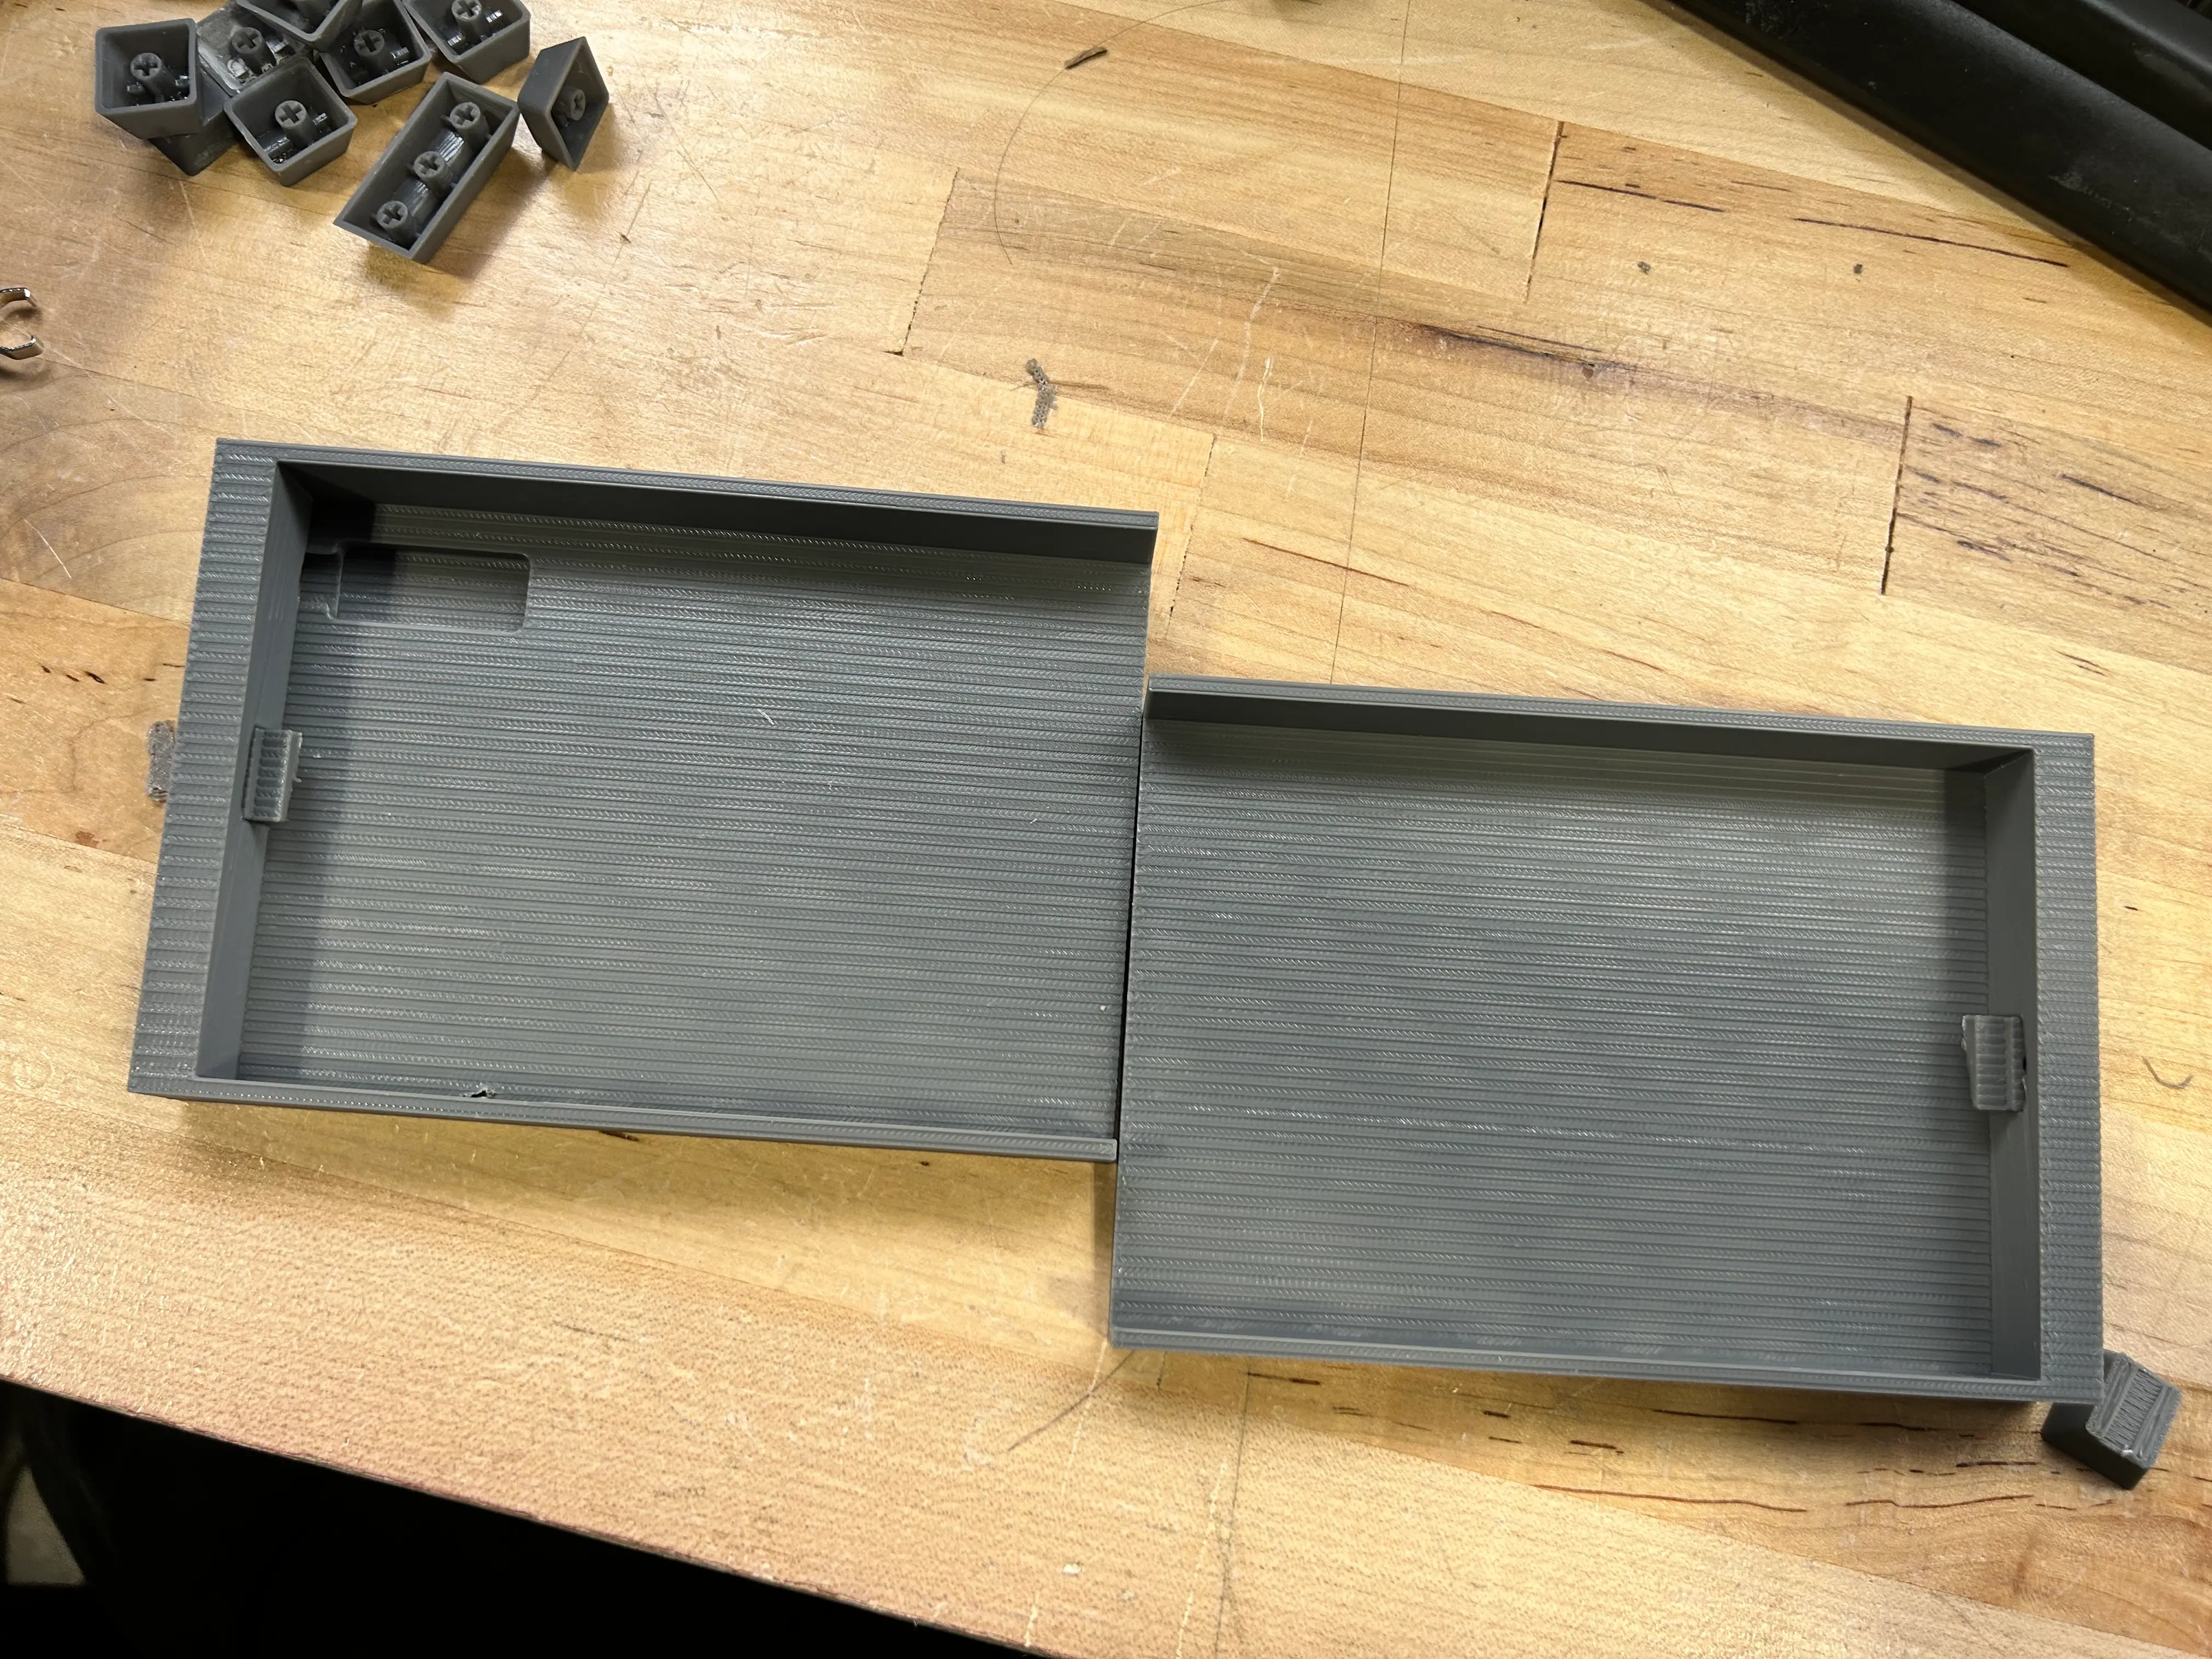
to avoid wasting filament, i set the infill to 5%. this might have caused some problems with the "locking" mechanism which connects the pcb to the case, as it's a bit flimsy.
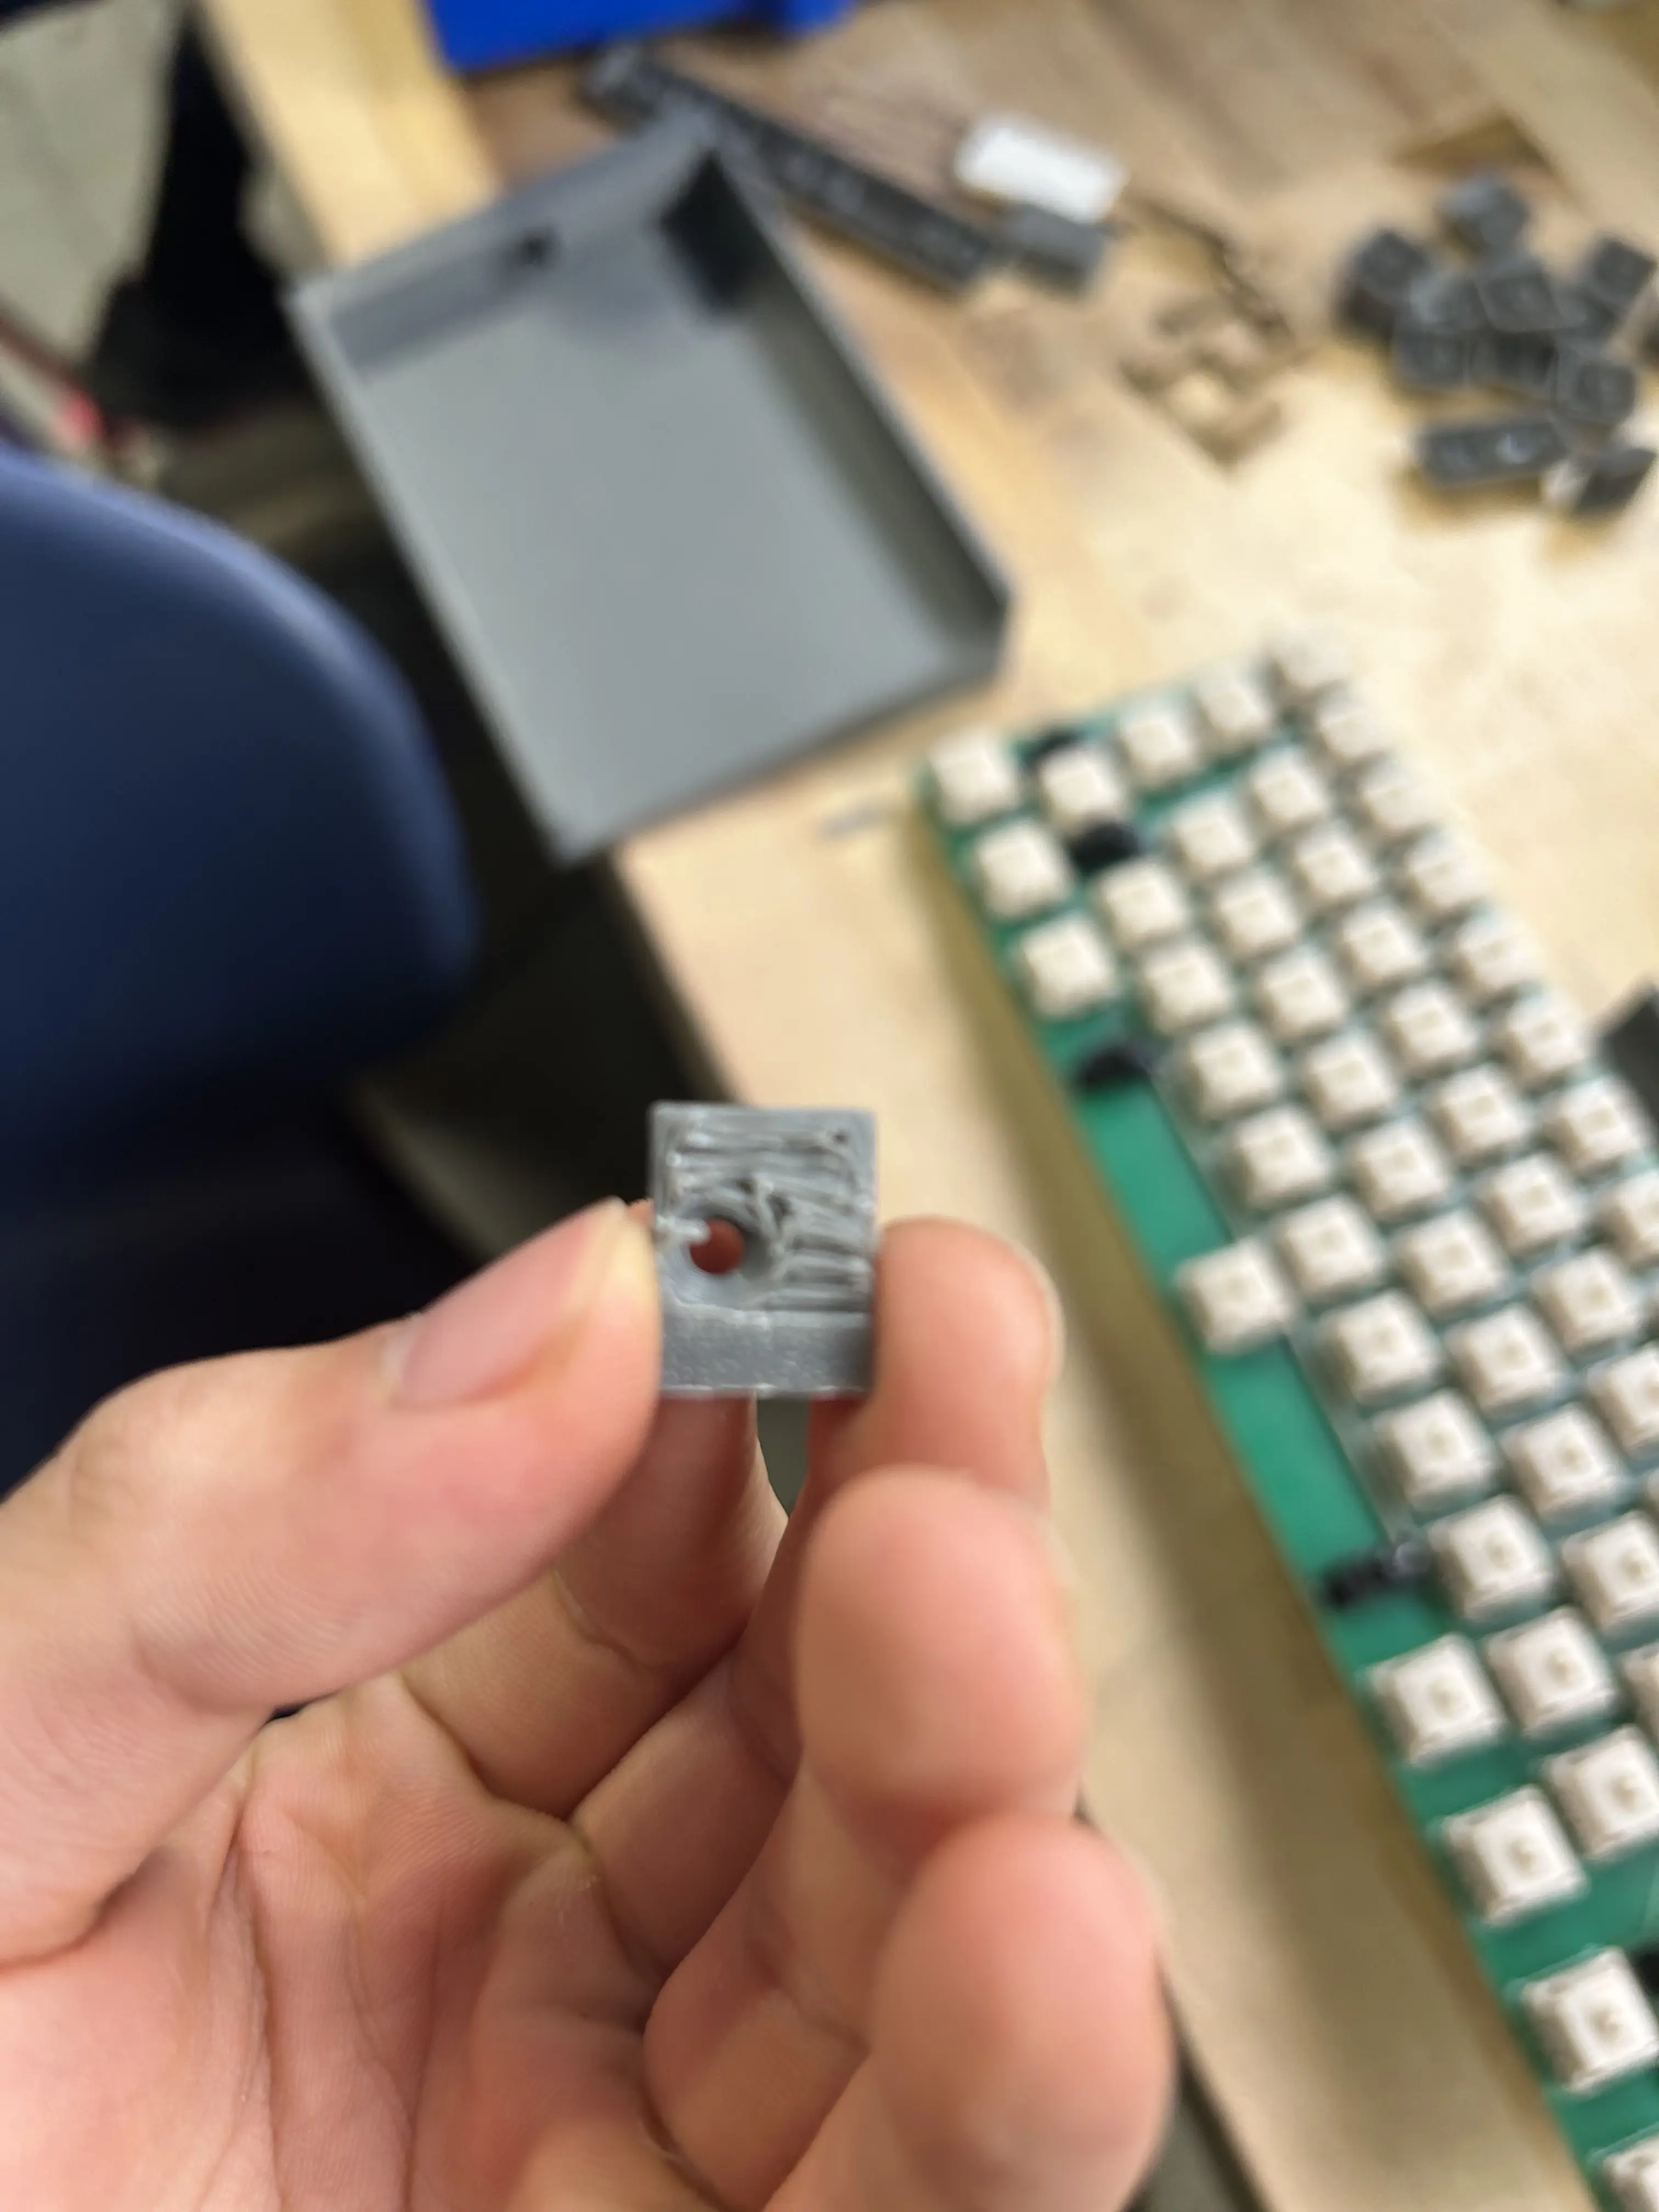
also, because of how big the keyboard is, i had to cut it into two bodies and print them separately. since i'm just testing stuff, i decided to just use tape to hold it together. it didn't really matter; it still fit and held everything together pretty well.
there was an error with the case design, though. to create the locking mechanism, i extended the thickness of the case, which caused a clearance issue.
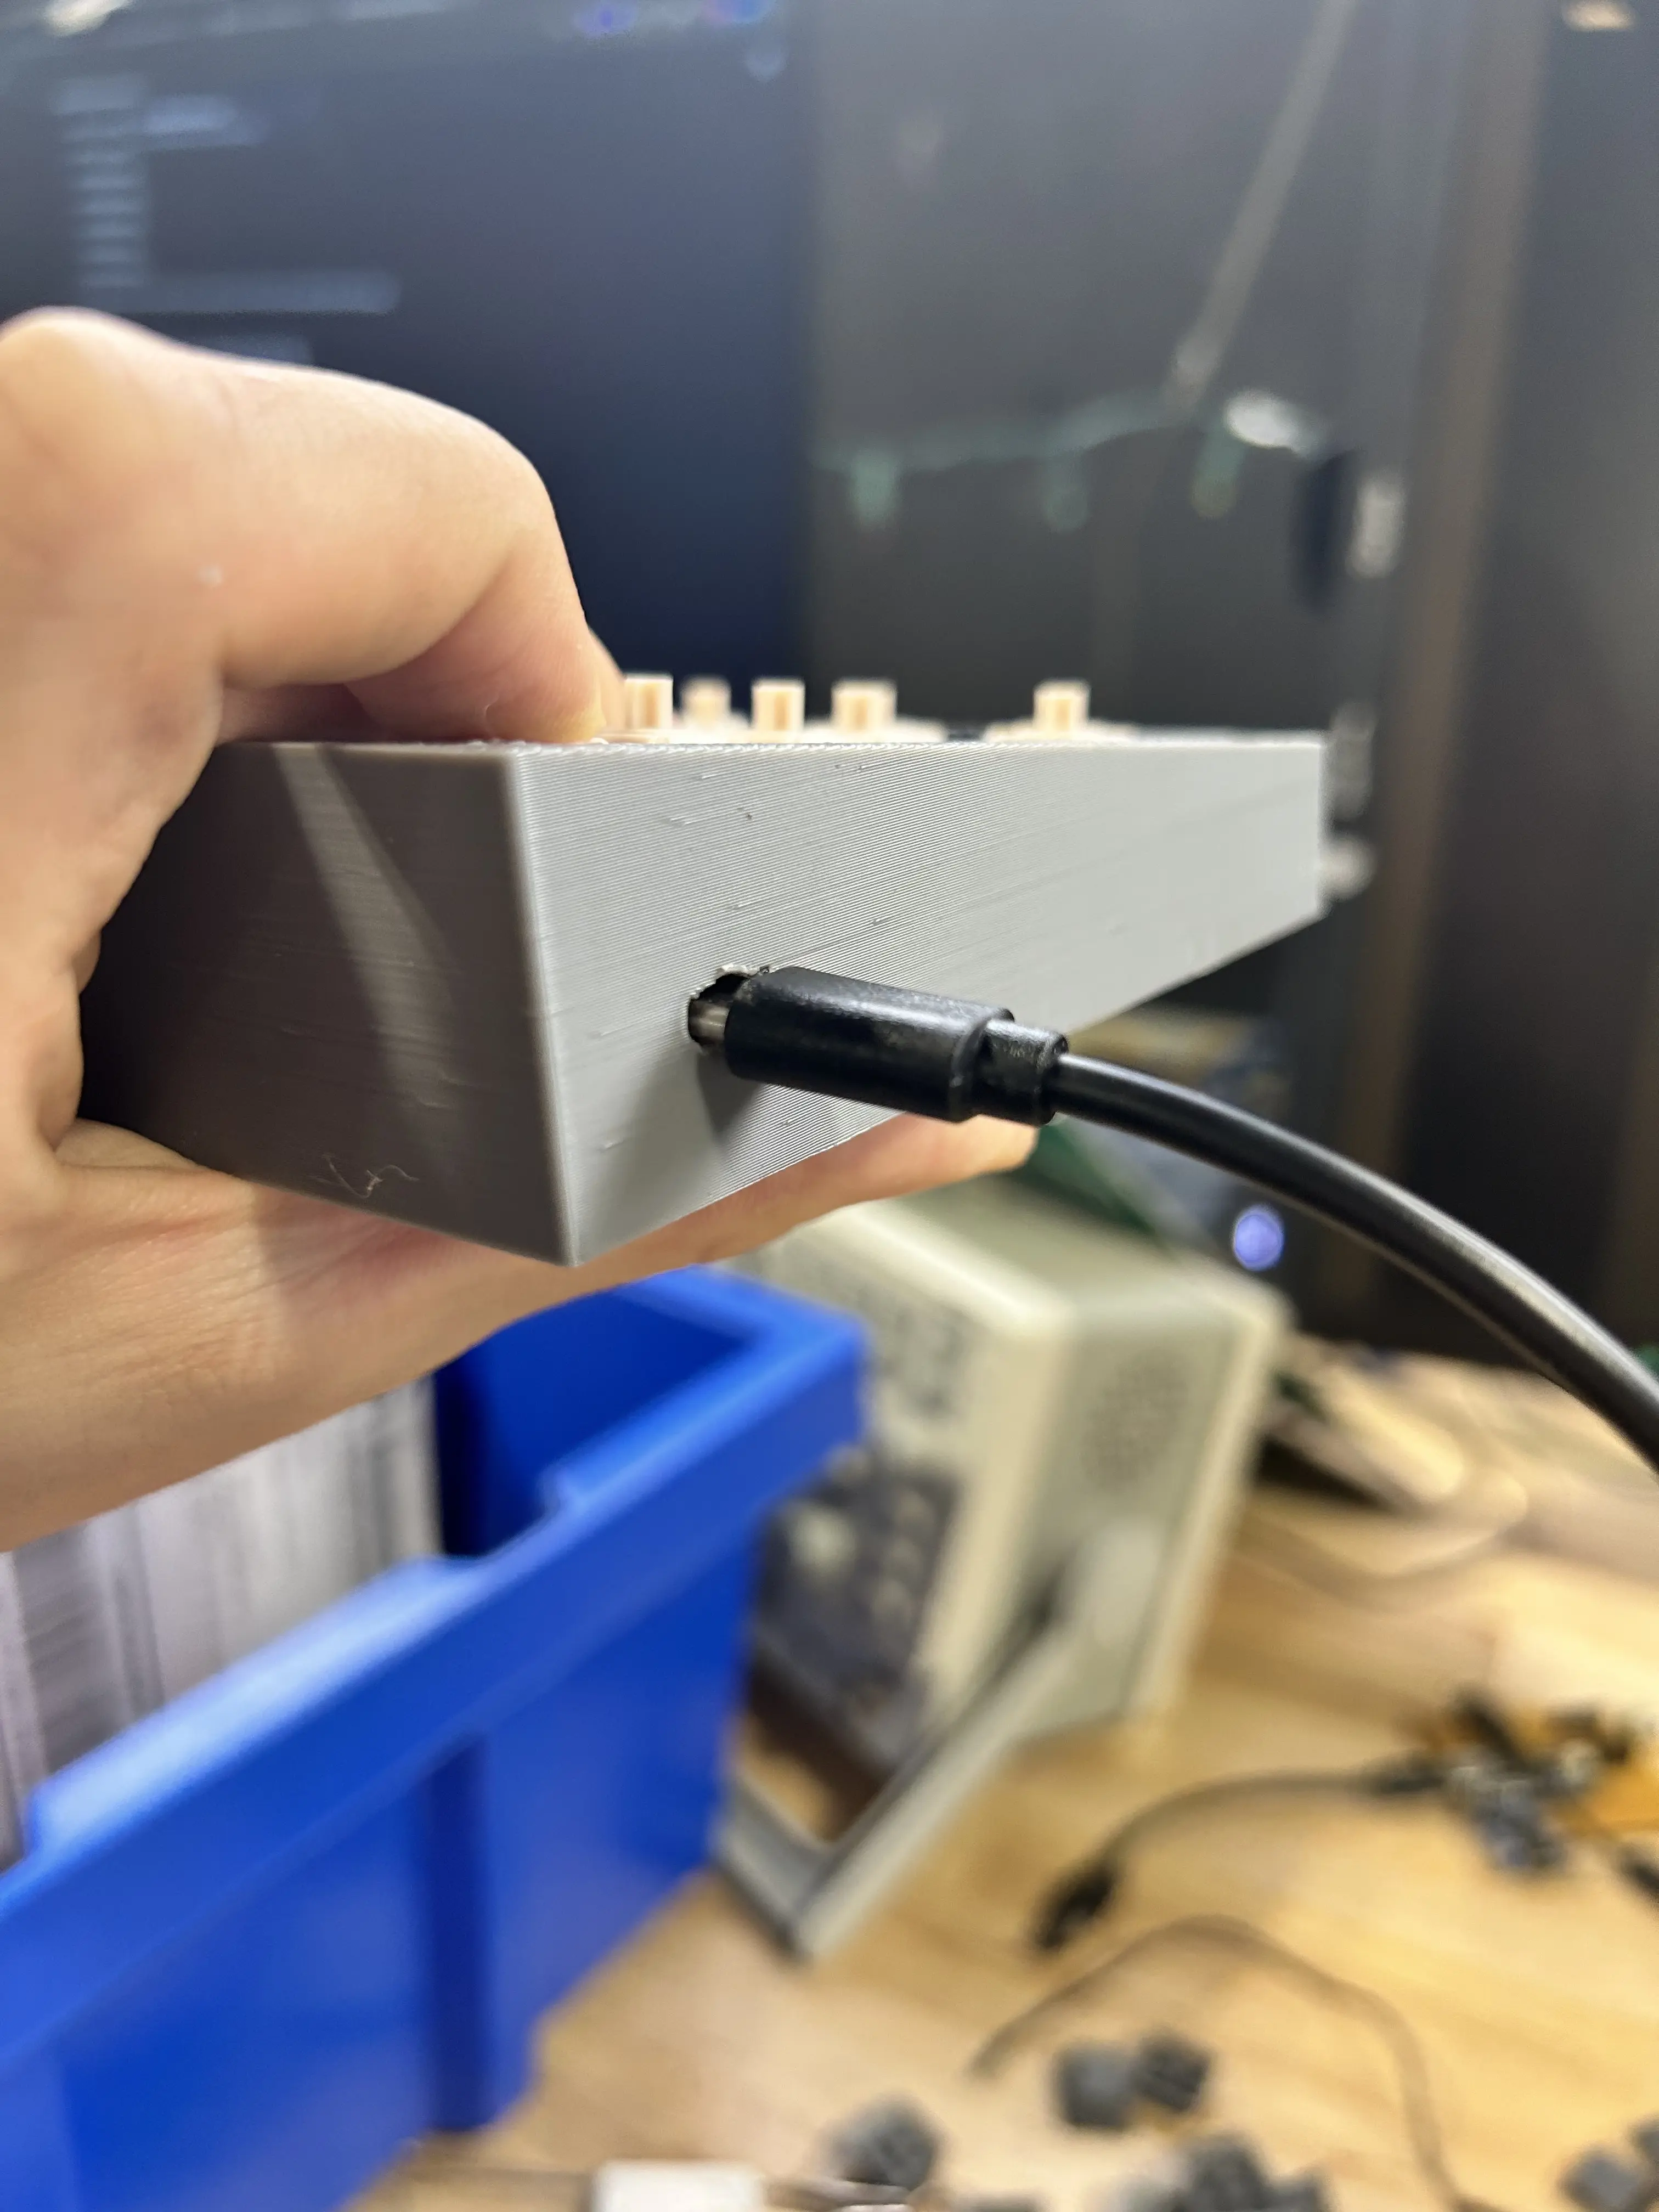
because of the thickness, a normal USB-C cable is unable to be plugged into the kb2040, making it impossible to use. i'll need to create a wider cutout for the cable head.
overall, though, it was an extremely productive half-week. here are the final results:
hopefully machine shop stuff next week!